It's estimated that more than 28 million Americans could benefit from hearing aids
Could you be one of them?
It’s not hard to do at home, especially with these expert tips.
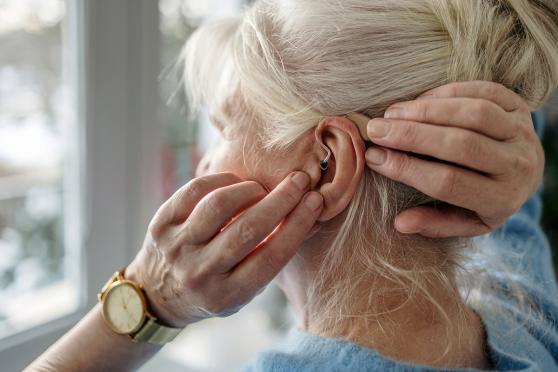
The receiver of your hearing aid — the part that goes into your ear canal — is protected by a wax guard. This is a tiny mesh cap that fits under the receiver’s dome. It’s there to protect your device from earwax and debris.1
Wax guards can get clogged, which is why they need to be changed regularly, says Lindsey Koble, Au.D. She’s the owner of Audiology Always in Auburn, Indiana, and a member of the UnitedHealthcare Hearing advisory board. Too much earwax can actually affect the sound quality of your devices.2 Replacing the wax guards (also called wax filters or traps) is the first line of defense.
The good news is that it’s simple to put in new wax guards at home. “I recommend that my patients do it on the first day of every month,” says Koble. “That way you get in the habit.”
If the wax guard isn’t dirty, you don't need to change it yet. But you should definitely check both of your devices each month. Some people produce more earwax than others — and wearing hearing aids can stimulate earwax production too.3
Your hearing care professional probably gave you a supply of wax guards when you got your devices. Not sure how to get started? These step-by-step tips from Koble will help you through the process.
Could you be one of them?
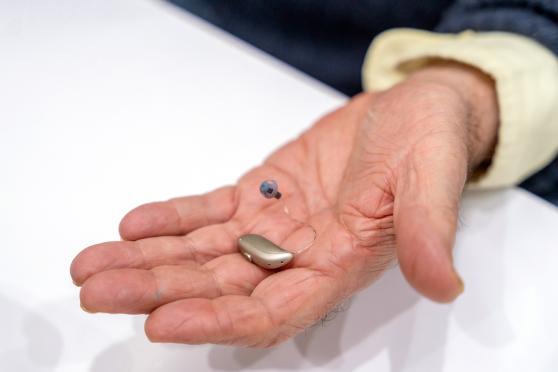
Most behind-the-ear hearing aids have a soft silicone dome covering the receiver. Pinch the tip gently and pull to get it off, says Koble. The wax guard sits underneath.
(If you have custom-fit hearing aid molds, where the entire device sits inside your ear, there won’t be a dome. The wax filter will be right there and easy to access.)
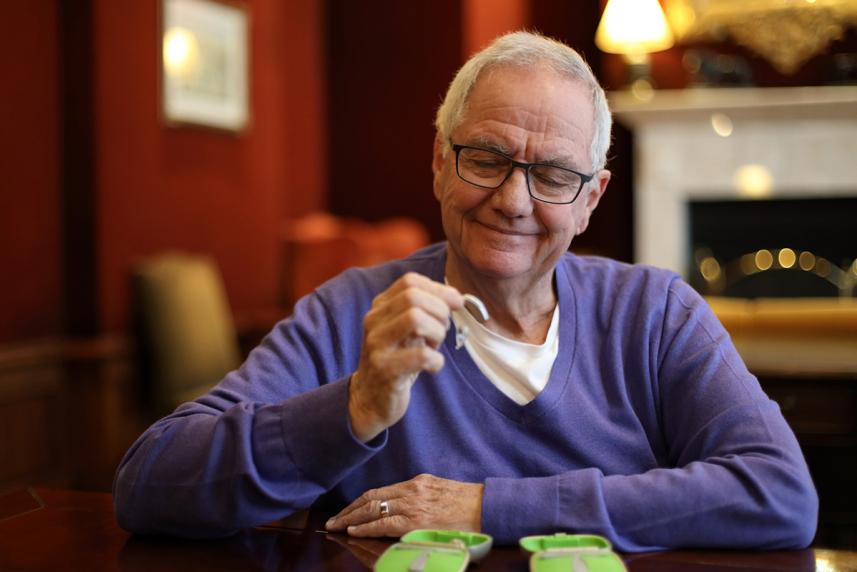
Replacement wax guards come attached to a small plastic tool. Take the tool out of its packaging. Depending on the brand, your tool may be:
All tools work the same way. One end is empty, and one end has a new wax guard attached.
Take the empty end of the tool and push it straight down into the dirty wax guard in your hearing aid. “You’ll feel it grab on,” says Koble. Pull the filter straight out to remove it.
Flip the tool over and press the new wax guard into the same hole. “Push it straight in until you feel that it’s nice and snug,” says Koble. Then gently pull out the tool, leaving the new filter in place.
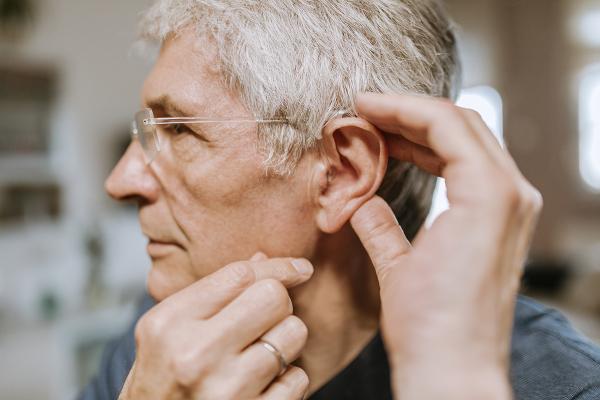
Hold the dome between your thumb and forefinger, then line it up with the receiver. Press it down until you feel it attach. Use your hands and your eyes to check that it’s on securely, suggests Koble. Take a close look so you can see that the edge of the dome is attached all the way around.
Now repeat the above steps on the other hearing aid.
You can throw away the old wax guards and tools when you’re finished. Then turn your hearing aids on, put them back in your ear and you’re all set.
Handy tip: If you just used your last wax guard, be sure to buy a new package so you’re ready to go next month, says Koble. You can purchase replacements through your hearing care professional.
Did you know that many hearing benefits, including a hearing exam and consultation, are covered through EPIC Hearing Healthcare? Learn more.
Sources
Information is for educational purposes only and is not a substitute for the advice of a licensed medical provider. Consult your provider prior to making changes to your lifestyle or health care routine.